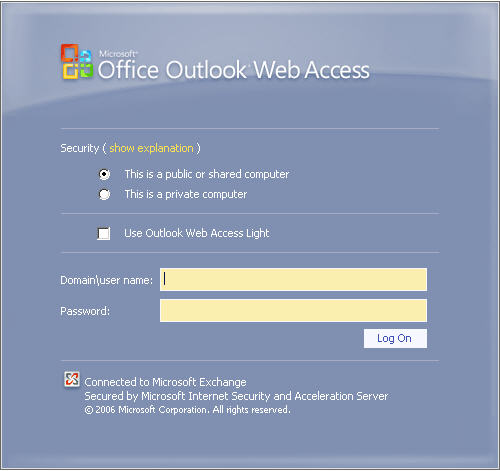
Select All Emails in Microsoft Outlook Web Access
As I was working with my official Microsoft Outlook web access client after a long winter break, I found that my mailbox is full of thousands of email and my mailbox is bouncing additional emails. In frustration, I click CTRL+A to select all my email but all in vain, as Outlook web access don’t have that option. You can only select emails which are shown per page in the mailbox. So the main question arise is how to select all emails in Microsoft outlook web access ?
After researching a lot in my Microsoft outlook web access client and Google, I found that there is a script by which you can select all messages in outlook web access. I tried this script in Internet Explorer, Firefox and Google Chrome but it didn’t work for me. Don’t know why many commentators have left the comment that it is working like a charm and it has saved a lot of there time.
Update: As code was not appearing correctly, we have removed it. Please check it here. To use above script, you just have to put it in browser URL and give it a try.
Simple Workaround to Delete Microsoft Outlook Web Access Mail Quickly
As I was searching for a simple solution and workaround to delete the emails quickly, I found that you can do that in 2 simple ways.
Recommended Article: How to Earn Extra Money from Home
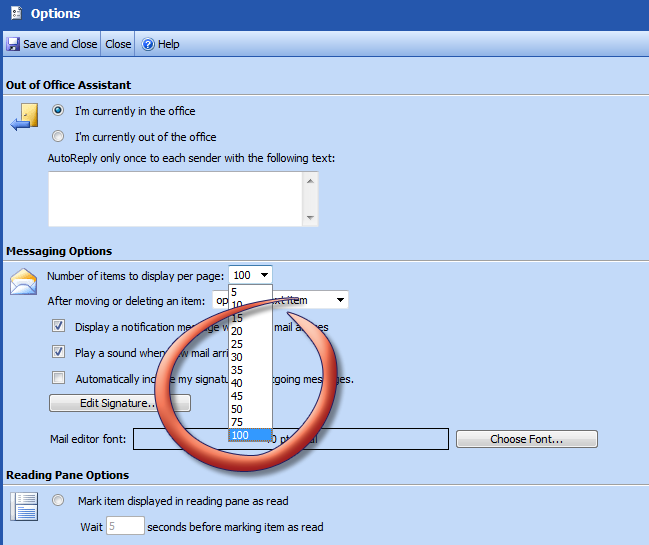
I) You can change the setting of your Outlook web access and can show up to 100 emails at a time per page. See below screenshot to change the setting.
Just go to the option of your web access and select 100 items to be displayed per page. By doing so you can delete 100 Emails at a time, instead of 25 emails which is a default option.
II) Secondly, you can set up your Outlook web access to Microsoft Outlook. Using Outlook utility will help you to store more messages directly to your hard disk and you can also select all email messages using CTRL+A. This is the most recommended method for all.
Hope you like our tutorial, if you have any questions just drop a comment. You can also like us on Facebook and follow us on Twitter and Google+ for more tutorials.


Hi, Thanks for the tutorial.